Are you putting up with leaky faucets? Today we are going to explain how you can fix them to finally get rid of those constant annoying drips.
We have over 25 years experience in the plumbing and water softener industry and we'd love to share our expertise with you.
We will give you a step by step guide showing you how you can fix the four different styles of faucets. So, let's get started.

Learn how to repair leaky faucets
What to Do with Your Leaky Faucets
Over time a dripping faucet can become incredibly annoying and it can waste a lot of water. Here's a handy calculator that will let you find out how much water your leaky faucet is wasting every day and in one year. It's better to do something about your leaky faucets before they turn into a bigger problem.
Fixing leaky faucets is not too difficult if you have the time and the right tools. This post will show you how to fix them. Once you learn what is involved, you may prefer to contact a professional to do the repair for you.
Before Your Begin:
Turn Off Your Water Supply
Don't begin any plumbing repairs until you have turned off your water supply. Take a look under your sink to find the handle that will shut it off and turn it clockwise as far as it will go.
Turn on your tap until the water stops to make sure that you have turned off your water supply properly.

Turn off your water supply before you begin to fix leaky faucets
Plug Your Sink
A great tip before you begin is to put a stopper into your drain or plug it with an old rag. This is an important step because it will stop you from accidentally loosing a screw or other small parts down your drain as you are working.
Tip: When removing parts, line them up in a line in the order that you took them off. This way you can easily remember what order they were in when you go to put them back on.
Determine Your Faucet Type:
The next task that you will need to do is figure out what type of faucet you have. Each type of faucet has a different method for repairing. There are 4 different types of faucets. They are:
Compression Faucets: A compression faucet has two separate handles, one for hot and one for cold water.
Ceramic-Disk Faucets: A ceramic-disk faucet has one central, swiveling arm that you swing from hot to cold and contains a ceramic cylinder inside.
Cartridge Faucets: A cartridge faucet also has one central swiveling arm and has a cartridge inside instead of a ceramic cylinder. It often has a decorative cap.
Ball Faucets: Like the ceramic and cartridge faucets, ball faucets have the single swiveling arms but inside they contain a ball bearing.
Figure out which type you have and follow the instructions pertaining to that type. You can click on the link below to take you to the appropriate section:
Compression Faucets
Ceramic-Disk Faucets
Cartridge Faucets
Ball Faucets
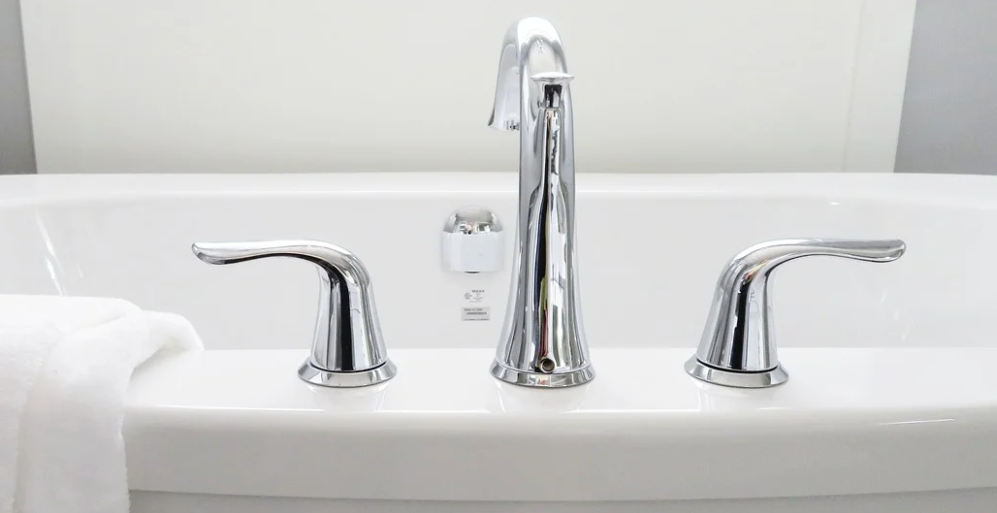
Compression faucets have two separate handles
Compression-Style Leaky Faucets
Step 1: Remove the Handles
If your handles have a decorative cap, you need to first remove them. You can usually do this by using the edge of a screwdriver or a butter knife and carefully prying underneath.
Be gentle so you don't damage the caps. You can now loosen the screw inside that is holding your handles in place, with a screwdriver, turning it counterclockwise. Once you have removed the screws, you can lift off the handles.
Step 2: Remove the Nut to Expose Your Seat Washer
Unscrew the exposed nut with a wrench. You should be able to see the stem under the nut. This is the part that sits on top or your O-ring which in turn sits on top of a seat washer.
Seat washers are usually made from rubber. Over time the rubber wears out so that the handle on your tap cannot turn off completely. This causes a leaking faucet.
Step 3: Remove the O-ring or the Seat Washer
If your handles themselves are leaking and not your faucet, then you need to replace the O-ring. If your faucet itself is leaking then you will need to replace your seat washer.
To do this, pull out the stem. You should see both an O-ring and a washer. The O-ring will be thinner than the seat washer. The seat washer will be held in place by an upside-down brass screw.
You will need to buy a new part. Take the worn parts with you to the hardware store so that you know exactly which type and size of replacement part you need.
Step 4: Replace the O-ring or Seat Washer
Cover the new seat washer or O-ring with plumber's grease and then put it back in place. Re-assemble the parts of your handles in the order that you removed them.
Watch the steps for repairing compression-style leaky faucets
Ceramic-Disk Style Leaky Faucets
Step 1: Remove the Handle and Escutcheon Cap
Start by unscrewing and removing the handle on your ceramic faucet. You will also need to remove the escutcheon cap. This is the metal plate that sits right under the handle.
Step 2: Remove and Clean the Disk Cylinder
Unscrew and remove the disk cylinder with a wrench. You will see several neoprene seals underneath this cylinder. Pry out these seals and place them and the cylinders in a container of white vinegar. Let them soak for several hours to remove any build-up.
If your seals are still in good shape, after they have been cleaned, you can put them re-assemble your handle using the clean seals. However if they look pitted, frayed, thin or worn-out, take them to the hardware store and buy exact replacements.
Step 3: Re-assemble Your Handle
Put your handle back together in the same order that you took it apart.
*Tip: When you turn the water back on again, do it slowly. High water pressure can crack the ceramic disk inside.
Watch the steps for fixing ceramic-style leaky faucets
Cartridge-Style Leaky Faucets
Step 1: Take Off the Decorative Cap and Handle
If you have a decorative cap on your tap, take it off, then unscrew the exposed screw, counterclockwise. Remove the handle by tilting it backwards.
Step 2: Remove the Cartridge
If your cartridge has a retaining clip, you can remove it by pulling it out using a pair of pliers. It will look like a plastic, circular, threaded piece that is holding your cartridge in place. Pull the cartridge so that it stands straight up.
Step 3: Take off the Faucet Spout and Replace O-rings
Using pliers, remove the faucet spout by pulling it upwards. Locate the O-rings and cut them off using a sharp utility knife.
Take the old O-rings to a hardware store so that you can purchase the same size. Coat the new O-rings in plumber's grease and put them back on the spout.
Step 4: Put Your Faucet Back Together
Put all the pieces of your faucet back together in the order you took them apart.
Learn how to replace cartridge-style leaky faucets
Ball-Style Leaky Faucets
Step 1: Purchase a Ball Faucet Cam Assembly
Before you repair your ball faucet, you will need to purchase a ball faucet cam assembly from your local home repair shop. This kit should include both the parts to complete the repair and also the tools that you require.
Step 2: Take Off the Handle, Cap, and Collar
Unscrew and lift off the swivel handle of your faucet and put it to the side. Using a set of pliers, unscrew the cap and collar.
Step 3: Remove the Faucet Cam
Using the special tool provided in your ball faucet cam kit, loosen the faucet cam. You can then remove the cam, washer, and ball.
The ball will actually look like a "ball and socket" joint. It's usually a white rubber ball that plugs the socket to stop the water.
Step 4: Take out the Seals and Springs
Reach into the mechanism with needle-nose pliers and take out the seals and springs.
Step 5: Replace O-Rings, Springs, Valve Seats and Cam Washers
You should have O-rings, springs, valve seats and cam washers in your replacement kit.
To remove the O-rings, cut them off with a sharp utility knife. Cover the new rings with plumber’s grease and attach them to the mechanism.
Replace the parts that you removed in Step 4 with the new ones in the same order that you removed them. Finish by screwing your handle back in place.
Watch how to repair ball-style leaky faucets
Trust WaterSmart: For All Your Plumbing Needs
Having problems with leaky faucets? You can trust WaterSmart with all of your plumbing needs. We are your local plumbing experts in the Kitchener-Waterloo region proudly celebrating more than 25 year of professional service.
If you are having problems with your plumbing, contact us today. We provide a full range of plumbing services that include but are not limited to:
Kitchens and Bathrooms
Leaks
Toilets and Taps
Clogged or Slow Drains
Dishwasher Installations
Tankless Hot Water Heaters
New Plumbing and Renovations
Master Plumber and Gas Fitter
Backflow Testing or Device Installation - see specials for savings
Here's what WaterSmart customers are saying:
"I would highly recommend WaterSmart for your plumbing needs …They clearly
treat their clients with care, respect, knowledgeable/quick service and are immensely trustworthy - I am sure they pride themselves on their standards and it shows!!
Thank you!!!"
-Amina Rauf