Hard water isn't just an inconvenience; it’s a silent tax on your home. From the chalky white buildup on your faucets to the "stiff" feeling of your laundry, mineral deposits (calcium and magnesium) gradually degrade your plumbing and appliances. Installing and connecting a water softener is the definitive solution to reclaim your home's efficiency and comfort.
For help installing and connecting a water softener, contact the experts at WaterSmart today.
Key Takeaways
Location is Everything: Install the unit at the main water entry point, before the water heater.
Safety First: Maintain a 2-inch air gap at the drain to prevent sewage backflow.
Protection: Use a bypass valve to preserve softened water during high-volume outdoor tasks.
Longevity: Proper calibration based on local water hardness (GPG) prevents salt waste and resin wear.
1. Why Precision Matters in Water Softener Connection
A water softener is more than just a filter; it is a sophisticated ion-exchange system that chemically alters your water chemistry.
Because it integrates directly into your home’s primary plumbing, the quality of the connection dictates the performance and safety of your entire household water supply.
Here’s why precision matters when installing and connecting your water softener.
Protecting Water Pressure: A softener must be sized and plumbed to match your home’s flow rate. Using improper pipe diameters or excessive 90-degree fittings creates friction loss. This leads to a noticeable drop in pressure - often felt most during peak usage, such as when running multiple faucets or showers simultaneously.
Preventing "Salty Water": The system uses a brine (saltwater) solution to recharge its resin beads. Precise calibration and secure valve connections ensure this salt is thoroughly rinsed away during the final stage of the regeneration cycle. A poor setup or a leak in the brine line can result in residual sodium leaking into your drinking water supply.
Eliminating Cross-Contamination: The most critical safety feature is the physical air gap at the drain line. Without a precise 2-inch gap between the softener's discharge hose and the sewer drain, a "cross-connection" is created. If the sewer ever backs up, the resulting siphoning effect could pull bacteria directly into your resin tank, contaminating your home’s potable water supply.
Optimizing the Ion-Exchange: If the "In" and "Out" lines are reversed—a common DIY mistake - the water flows backward through the mineral tank. This doesn't just leave you with untreated hard water; the reverse pressure can actually flush the expensive resin beads out of the tank and into your home’s pipes, clogging your faucets, aerators, and high-end appliances.
Managing Thermal Stress: If your installation requires soldering copper pipes, precision is required to protect the unit’s internal seals. High-quality installations involve soldering pigtails or using heat-sink cloths to ensure that the heat from the torch never compromises the plastic bypass valves or the integrity of the resin tank.
Click the image below to visit our water softener installation page.
2. Connecting a Water Softener: A Step-by-Step Overview
While every home is unique, a standard installation follows a specific sequence to ensure the system is integrated safely and efficiently.
Locate the Main Water Entry Identify where your main water service enters the home. To be effective, the softener must act as the "gatekeeper" for your plumbing. It should be placed upstream of the water heater to prevent scale buildup in the tank, but downstream of your outdoor hose bibs so you aren't wasting softened water on your lawn.
The Essential Bypass Valve Never skip the bypass valve. This crucial component allows you to divert water around the softener for maintenance or high-volume tasks—like filling a pool or power washing—without exhausting your resin bed or wasting salt.
Mastering Pipe Connections Align the "In" port with your hard water supply and the "Out" port with your home’s treated water line.
Pro Tip: If you are soldering copper pipes, complete your welds at least 12 inches away from the unit. The intense heat from a torch can easily warp or melt the plastic bypass valves and internal seals.
Routing Drain and Brine Lines Your system will have two lines: a discharge line for regeneration and an overflow line for the brine tank. Route these to a floor drain or utility sink.
Safety Warning: Never seal these lines directly into a drain pipe. A physical air gap is a legal plumbing requirement to prevent sewage from siphoning back into your water supply.
System Activation and Programming Once the plumbing is leak-tested, add high-quality salt pellets to the brine tank. The final step is programming the digital controller. You must input your specific Grains Per Gallon (GPG) hardness level; an incorrect setting will lead to either hard water breakthrough or excessive salt waste.
Pro Tip: The Air Gap Rule
To keep your drinking water safe, never stick your softener's drain hose directly into a pipe. Always leave a 2-inch gap between the hose end and the drain to prevent bacterial backflow.
Contact Us for Expert Installation3. Common Mistakes to Avoid
Even a small oversight during installation can lead to long-term plumbing headaches. Avoiding these three common pitfalls will ensure your system remains efficient and your home stays protected.
Improper Drainage & Code Violations: The most frequent DIY error is hard-piping a drain line directly into a sewer pipe or standpipe. This creates a cross-connection that violates local plumbing codes. Without a visible air gap, there is no way to verify that the system is draining correctly, and you risk a catastrophic bacterial backup.
Neglecting Salt Bridges: In high-humidity environments like basements, a hard crust—known as a salt bridge—can form in the brine tank. This creates an empty space between the salt and the water, preventing the brine from forming. If you notice your salt level hasn't dropped in weeks, you likely have a bridge that needs to be manually broken up with a broom handle.
Using Under-Sized Fittings: Your water softener should never be a bottleneck. If your home has a 1-inch main water line but you use 1/2-inch or 3/4-inch fittings to connect the softener, you will experience a significant drop in water pressure. Always ensure your connectors match or exceed the diameter of your main service line to maintain a high-performance flow rate.
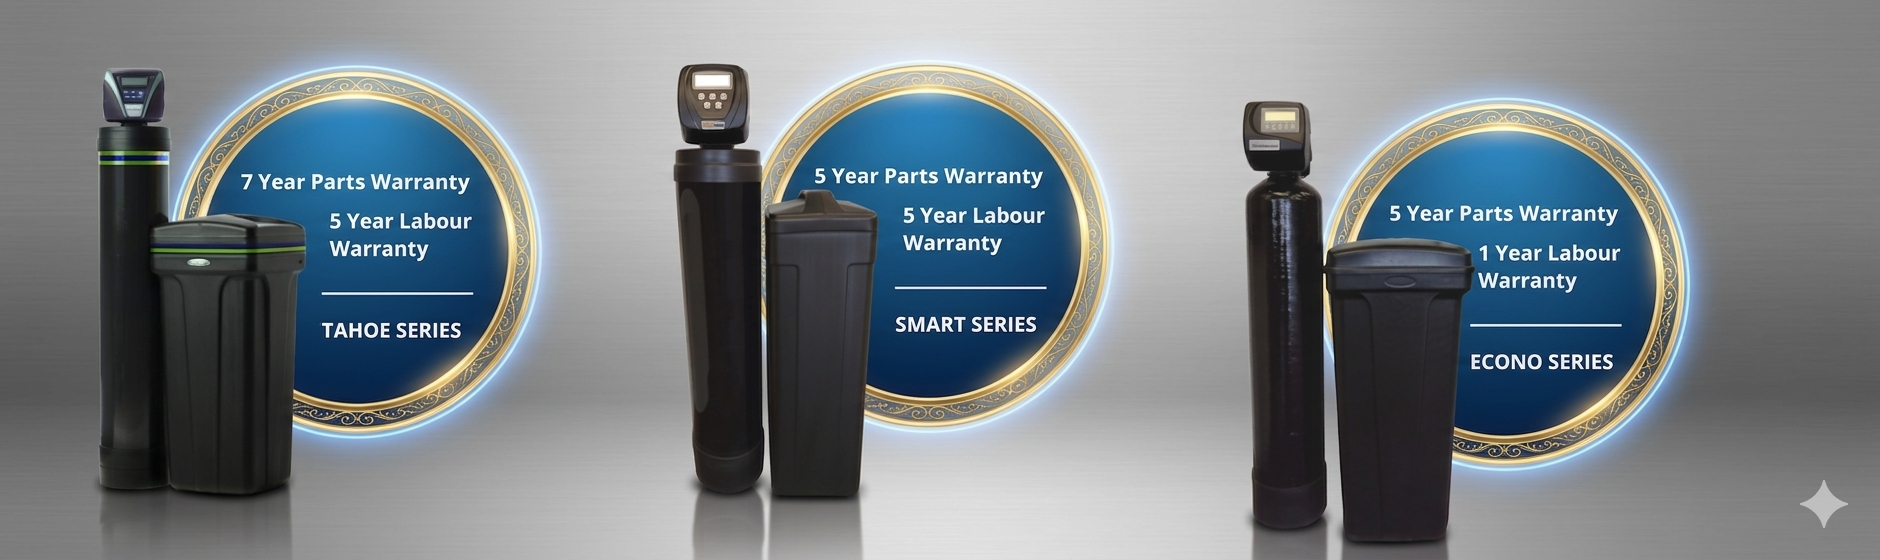
4. DIY vs. Professional Comparison Chart
Installation Comparison
| Feature | DIY Installation | Professional Install |
|---|---|---|
| Warranty | Parts Only | Full Parts & Labor |
| Water Testing | Basic Test Strip | Lab-Grade Analysis |
| Safety Check | Homeowner Assessed | Code-Compliant Setup |
5. The Benefits of Soft Water
Investing in a water softener provides immediate, tangible improvements to your home’s efficiency and your daily quality of life. By removing the minerals that cause scale and buildup, you transform your home's water from a source of wear-and-tear into a protective asset.
Extended Appliance Lifespan: Hard water is the leading cause of premature failure for water heaters, dishwashers, and washing machines. Soft water prevents the internal scale buildup that forces these appliances to work harder and use more energy, potentially extending their lifespan by several years.
Significant Cost Savings: Because soft water allows soaps and detergents to lather more effectively, you can reduce your cleaning product consumption by up to 30% to 50%. You will also see lower energy bills as your water heater remains free of insulating mineral deposits.
Brighter Laundry & Softer Linens: Mineral deposits trap dirt and soap scum in fabric fibers, making clothes feel stiff and colors look dull. Soft water rinses completely clean, keeping your towels fluffy and your whites brighter for longer.
Healthier Skin and Hair: Hard water strips natural oils from your body, often leading to dry, itchy skin and brittle hair. Soft water maintains your body’s natural moisture balance, resulting in a noticeable difference in how you feel after every shower.
Effortless Cleaning: Say goodbye to the stubborn "white film" on glass shower doors and chalky spots on your dishes. Soft water eliminates the mineral residue that makes housework feel like an endless battle.

Ready to Upgrade Your Home’s Water?
Understanding the process is the first step; getting it right is the next.
Whether you have questions about your home’s specific plumbing or you’re ready to schedule a professional installation, our team is here to help.
Contact Water Smart Systems today to ensure your new system is installed with the precision and expertise your home deserves.
“Service people are great but I’ve had to have the softener repaired twice in less than a month for the same problem”