Dealing with stubborn limescale on your fixtures or "spotty" dishes after a wash? Investing in a water softener system installation is the most effective way to eliminate hard water problems, protecting your home’s plumbing and extending the life of your appliances.
While the prospect of cutting into your main water line can feel daunting, the installation process is a well-refined science that typically takes less than a single afternoon. From the moment the technician arrives to the first time you turn on a faucet and feel the difference, the transition to soft water is surprisingly swift.
In this guide, we will break down exactly how long the installation takes, what the process looks like step-by-step, and the current 2026 costs you should anticipate.
Whether you are replacing an aging unit or installing a system in a brand-new home, this walkthrough will prepare you for a seamless installation day. Contact us to book your installation today.
Key Takeaways
Speed: Most standard professional installations are completed in a 2 to 4-hour window.
Infrastructure: Homes with a "softener loop" (pre-plumbed) enjoy the fastest and cheapest installations.
Hardness Levels: Knowing your water’s GPG (Grains Per Gallon) is the most critical factor for system calibration.
Compliance: Professional installers ensure the system meets local plumbing codes and environmental drainage regulations.
1. Average Installation Timeline
While the physical labour of connecting pipes is the primary focus, the "clock" for a water softener system installation begins the moment the technician arrives and ends only after a successful test cycle.
Initial Assessment (30–60 Minutes): This isn't just a walkthrough. The installer must locate the main water shut-off, identify the nearest drain and power source, and perform a final water test. Even if you've had your water tested before, a professional will verify the hardness level on-site to ensure the system is programmed accurately from minute one.
Plumbing & Hardware Setup (1.5–2.5 Hours): This is the "heavy lifting" phase. It involves cutting the main water line, installing the bypass valve, and routing the drain lines. If your home requires a new electrical outlet or a new drain line to be plumbed through a wall, this phase will lean toward the 2.5-hour mark.
Programming & Commissioning (30–60 Minutes): Once the unit is physically connected, it must be "brought to life." This involves filling the brine tank, setting the internal clock, inputting the hardness data, and running a manual "recharge" cycle to check for leaks under pressure.
By understanding these phases, homeowners can better plan their day around the temporary water shut-off required for the install.
2. Step-by-Step Installation Process
Site Prep & Water Testing: The technician tests your water’s hardness in Grains Per Gallon and iron content. This ensures the resin bed is sized correctly for your specific needs.
The Water Shut-Off: The main water valve is closed, and the lowest faucets in the house are opened to drain the remaining water from the pipes.
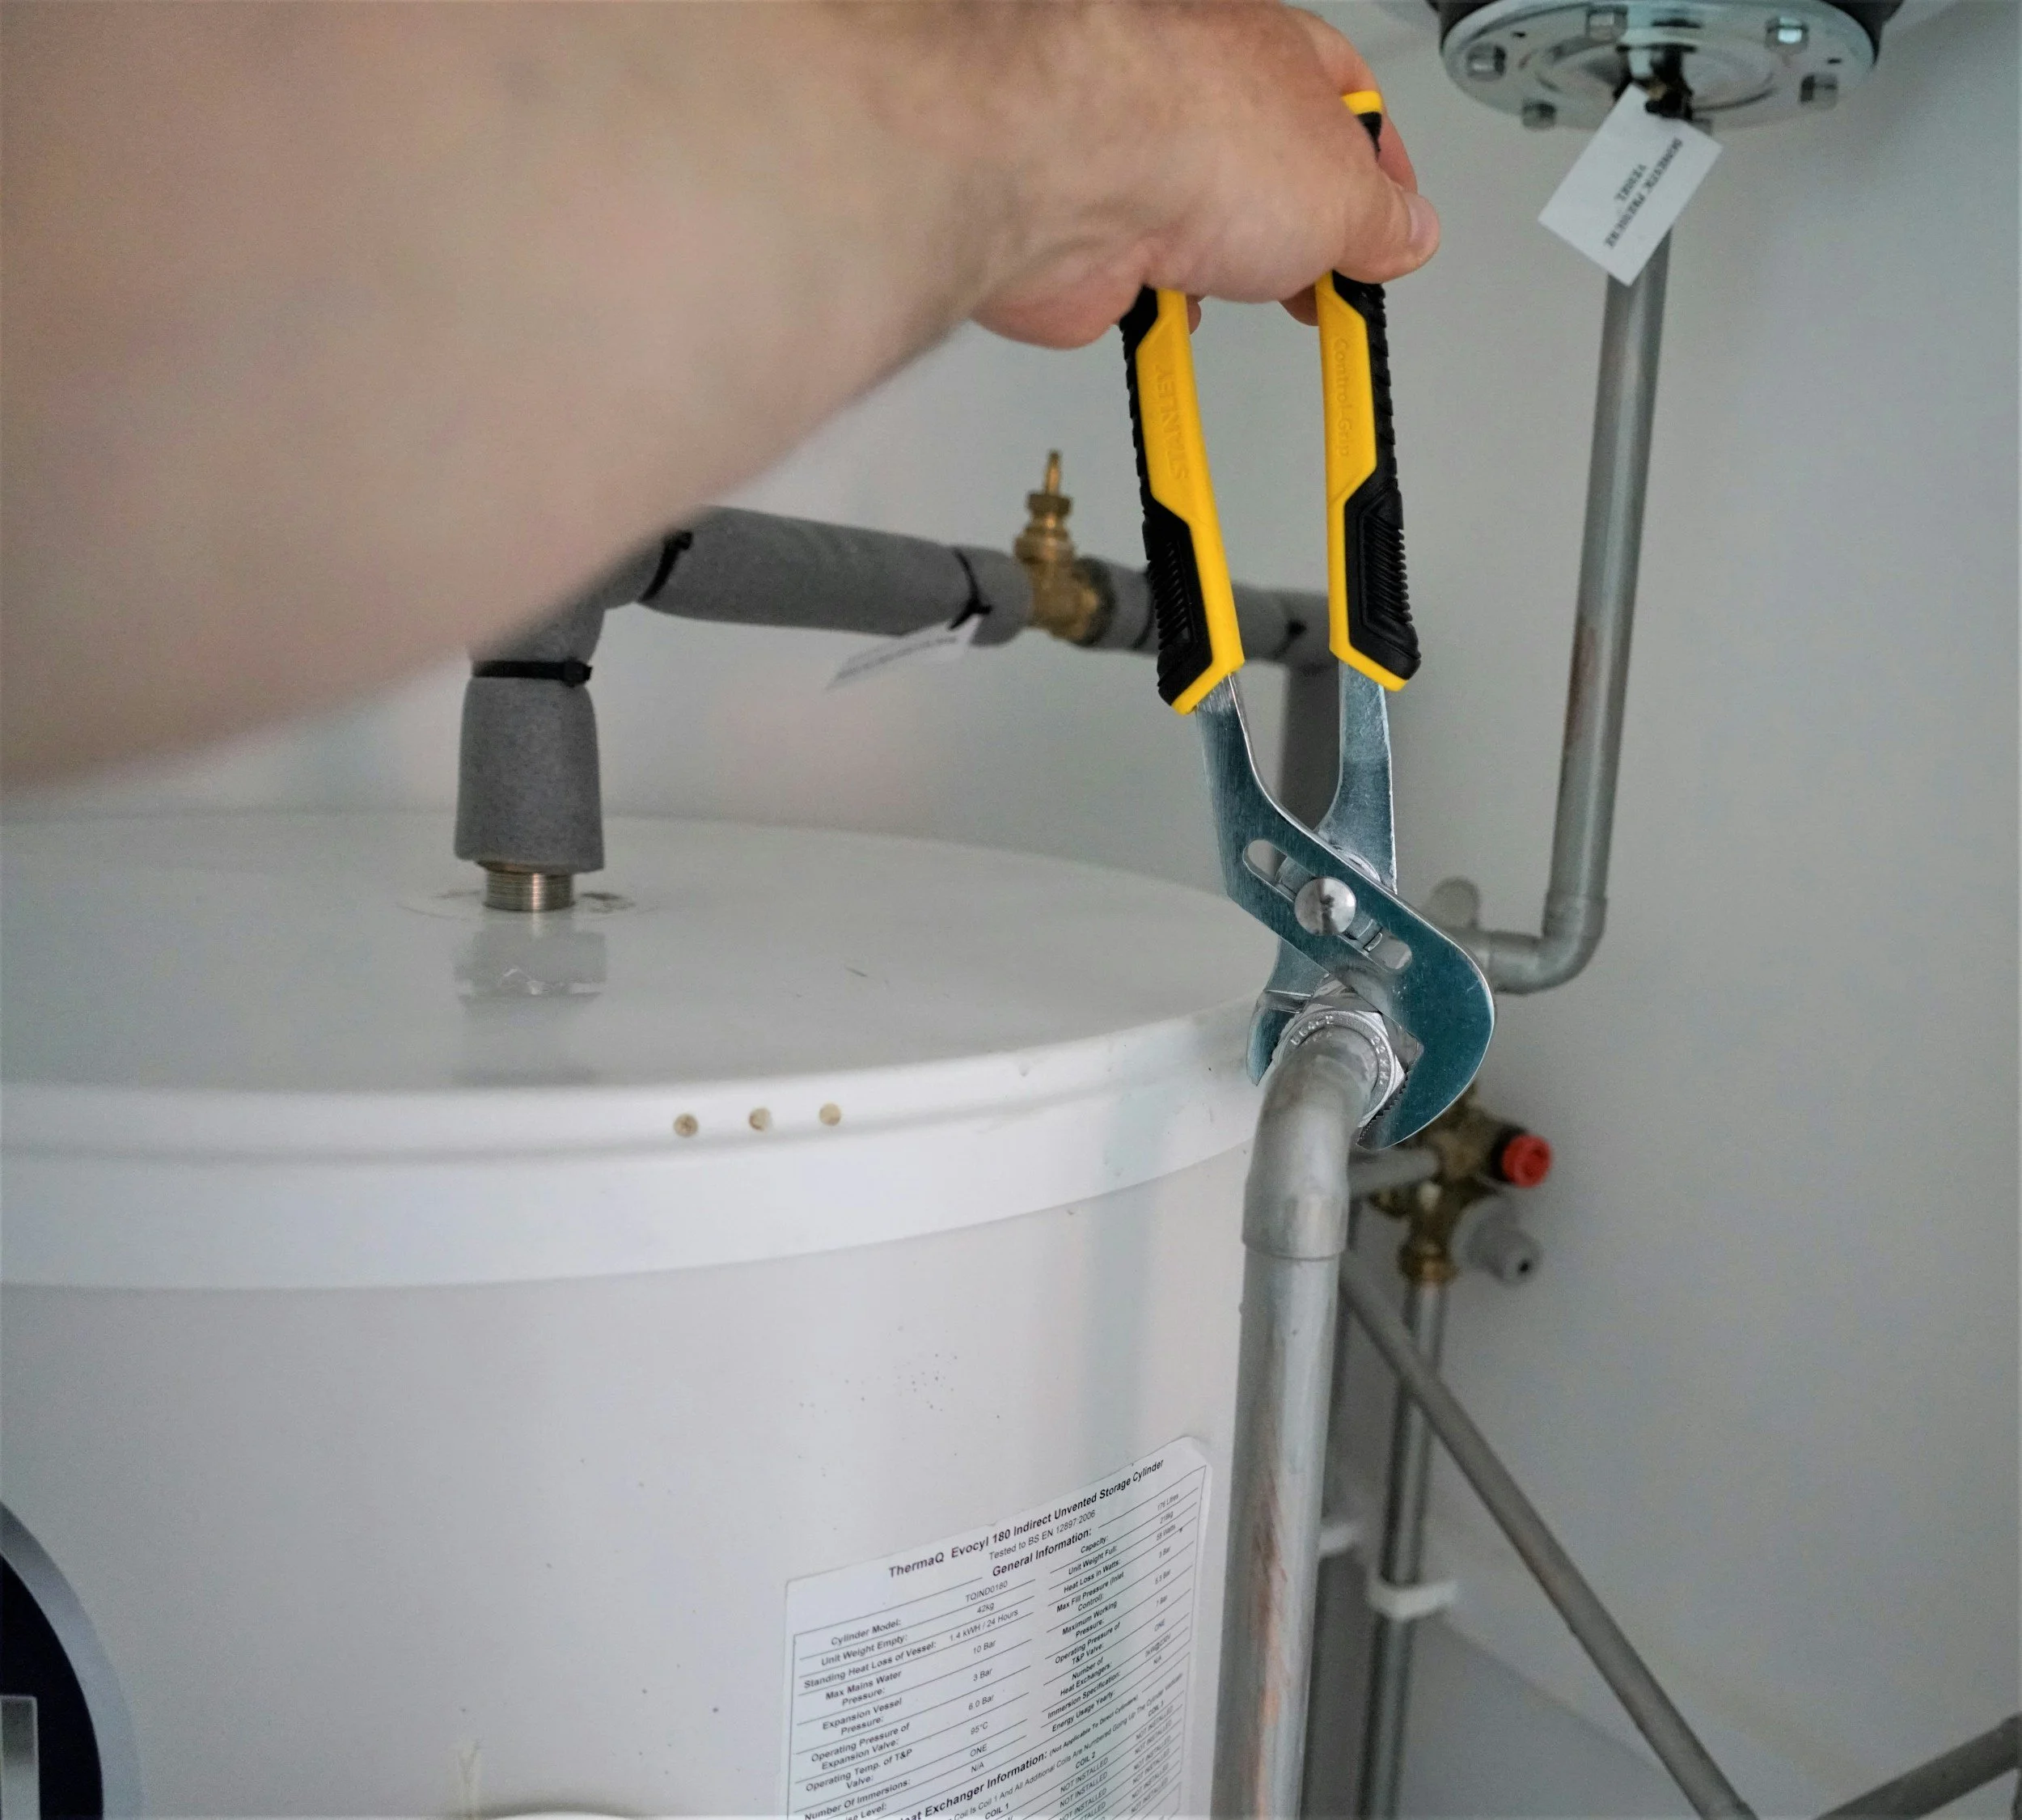
Cutting the Main Line: The installer cuts into the cold water line after it enters the home, but before it splits to the water heater. This ensures both your hot and cold water (except for outdoor hoses, usually) are softened.
Installing the Bypass Valve: This is a crucial three-way valve that allows you to "bypass" the softener for tasks like watering the lawn or if the unit ever needs repair.
Connecting the Tanks: The resin tank (the tall one) and the brine tank (the salt tank) are positioned. The plumbing is connected to the "In" and "Out" ports of the control valve.
Drain & Overflow Lines: A discharge hose is run from the softener to a floor drain or utility sink. A second "overflow" line is often attached to the brine tank as a safety measure.
System Start-up: The technician adds 1–2 bags of salt, adds a specific amount of water to the brine tank, and starts a manual regeneration cycle. This flushes out any "fines" (tiny resin beads) or debris from the installation process.
Each of these steps is vital to ensure that your system operates efficiently without wasting salt or water.
3. Factors Affecting Installation Time
Not every home is built the same, and these variables can significantly alter the labour involved:
Pipe Material: Soldering copper pipes takes significantly more time and precision than using "push-to-connect" fittings or PEX crimping. If you have older galvanized steel pipes, the process may involve threading or specialized adapters.
Drain Access: The system needs to discharge saltwater every few days. If there isn't a floor drain or standpipe within 10–15 feet, the installer may need to pump the discharge upward or through an exterior wall.
Power Availability: Modern softeners need an outlet to run the digital timer and motorized valve. If an outlet isn't within reach, an electrician may be needed, or the plumber will need to run an extension or new line.
System Complexity: A simple salt-based softener is straightforward. However, if you are installing a multi-stage system that includes a sediment pre-filter, a carbon filter, and a UV purifier, the plumbing becomes much more intricate.
Homeowners should expect a longer installation day if their plumbing is older or if the unit is being placed in a difficult-to-reach location.
4. 2026 Cost Breakdown
The following table reflects the current 2026 market rates for equipment and professional labour.
| System Type | Unit Cost | Labor & Materials | Estimated Total |
|---|---|---|---|
| Single-Tank Ion Exchange | $600 – $1,200 | $500 – $800 | $1,100 – $2,000 |
| Dual-Tank (High Demand) | $1,500 – $2,500 | $700 – $1,200 | $2,200 – $3,700 |
| Salt-Free Conditioner | $800 – $1,800 | $600 – $900 | $1,400 – $2,700 |
| Whole-Home RO System | $4,000 – $8,000 | $1,500 – $3,000 | $5,500 – $11,000 |
5. Preparation Tips for Homeowners
To keep labour costs down and the process moving quickly, take these steps before the pro arrives:
Clear a Path: Move boxes, storage, or laundry piles away from the water main and the area where the tanks will sit (approx. a 3ft x 4ft space).
Locate Your Main Shut-off: If your main valve is old or "frozen," the plumber will need to know this immediately, as it may need replacement before the softener can be installed.
Check Your Salt: Most installers do not carry 40lb bags of salt in their vans. Have 200lbs of high-purity pellet salt on hand for the initial fill.
Verify the Drain: Ensure your floor drain is not blocked by debris. The softener will discharge several gallons of water at a high flow rate during its first cycle.
Proper preparation can shave up to an hour off the total installation time and prevent "surprise" labour charges.
6. Benefits of Professional Installation
While a "handy" homeowner can technically install a softener, a professional ensures long-term peace of mind.
Plumbers understand the Air Gap requirements - a critical safety gap between the drain line and the sewer to prevent raw sewage from ever siphoning back into your drinking water.
Furthermore, a professional can properly "size" the unit. An oversized unit wastes salt, while an undersized unit will wear out prematurely and leave you with hard water during high-usage times (like when running the shower and dishwasher simultaneously).
Most professional installs also come with a 1-year labour warranty, protecting your investment from leaks or programming errors.

Export, Local Water Softener System Installation
At WaterSmart Systems & Plumbing, our licensed technicians have decades of experience servicing and installing all types of water softeners.
Whether it’s a quick repair, annual inspection, or complete system upgrade, we’re here to help you protect your investment and enjoy reliably soft water year-round.
We proudly install high-performance, Canadian-made 10% resin water softeners designed to give you cleaner, softer water with less hassle, year after year.
And remember, installation is always free with the purchase of any WaterSmart water softener. In addition, we install our Smart Series water softeners a little differently than the conventional softener to make it more water-efficient.
Contact us today for a free water test or to learn more about the benefits of upgrading to 10% resin.
“We wanted a reverse osmosis system and to own our water softener. We called Watersmart. A salesperson named Paul came to our house. Told us it would be no problem to install. Told me the cost and put no sales pressure or long diatribes on me. I learned to find out Paul is the owner. We booked an install for a Monday 9:00am. 9:00am Monday Ethan showed up to install water softener 10 minutes later Scott arrived to install RO System. Both very professional and knowledgeable. 1 hour 45 minutes later install complete and no mess. I highly recommend this company.”