Living in Canada often means dealing with some of the hardest water in North America. From the high mineral content in the Grand River basin to the deep-well systems across the Prairies, hard water isn't just a nuisance - it’s a threat to your plumbing, appliances, and skin health.
If you are looking for the best whole-home water softener in Canada, this 2026 guide breaks down the top-rated systems, efficiency ratings, and what you need to know about cold-climate installations.
We truly believe we sell and install the best, Canadian-made water softeners in the business.
If you want to make the move to better, softer water, contact WaterSmart today to book an appointment.
Key Takeaways
Predictive Savings: Modern "Look Ahead" technology (like the Smart Series) tracks your water habits to reduce salt and water waste by up to 30%.
Pressure Performance: For multi-bathroom homes, prioritize high flow rates (e.g., 27 GPM in the Tahoe Series) to prevent water pressure drops during peak usage.
Canadian Engineering: Made-in-Canada systems are specifically designed to handle regional "Extremely Hard" water levels (20–30+ GPG) that standard retail units often fail to treat.
Professional Value: Top 2026 models now include Free Installation and specialized financing—like No Interest/No Payments for 6 months—to protect your home's plumbing immediately.
Top 7 Water Softeners for Canada (2026)
| Model | Best For | Key Advantage | Warranty |
|---|---|---|---|
| WaterSmart Tahoe | High-Flow Homes | 27 GPM flow rate prevents pressure drops in large households | 7-year parts / 5-year labour |
| WaterSmart Smart Series | Efficiency | “Look Ahead” logic regenerates only when needed, saving ~30% on salt | 5-year parts / 5-year labour |
| WaterSmart Econo | Budget Value | Solid-state system with on-demand regeneration at a lower price point | 5-year parts / 1-year labour |
| SpringWell SS1 | Longevity | 10% crosslink resin resists chlorine damage better than standard systems | Lifetime (Manufacturer) |
| SoftPro Elite HE | Eco-Conscious Homes | Upflow regeneration uses less water and salt per cycle | Lifetime (Manufacturer) |
| Fleck 5600SXT | Simple Reliability | Widely serviceable valve with easy-to-find replacement parts | 5-year valve / 10-year tank |
| Kinetico Premier Series | Power Outages | Non-electric dual-tank system provides soft water 24/7 | 10-year (Manufacturer) |
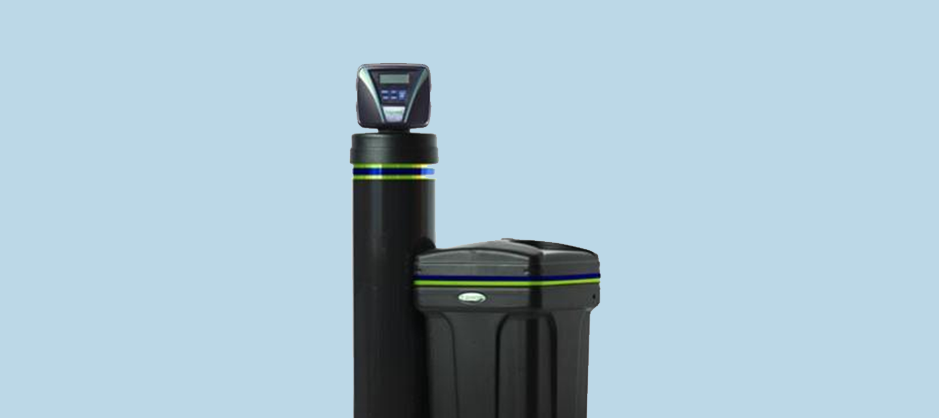
2. Deep Dive: The WaterSmart Made-in-Canada Lineup
When shopping for a water softener in Canada, "Made in Canada" isn't just about supporting the local economy - it’s about engineering. Our systems are built to withstand the high mineral concentrations found in regional aquifers.
1. The Tahoe Series (Best for Large Households)
If you have a home with three or more bathrooms, the Tahoe is designed with you in mind. Its rugged design emphasizes high-volume functionality.
Performance: High service flow rates of up to 27 GPM mean you can run the dishwasher, laundry, and two showers at once without noticing a drop in water pressure.
Durability: Built with industrial-grade components to ensure a long lifespan under heavy use.
2. The Smart Series (Best for Tech-Forward Efficiency)
The Smart Series is the intelligent choice for the eco-conscious homeowner.
The "Look Ahead" Advantage: Most softeners regenerate on a fixed schedule. The Smart Series tracks your actual daily water usage and "looks ahead" to see if it has enough capacity for the next day. If not, it regenerates precisely when needed.
Efficiency: This predictive technology can save a typical family hundreds of pounds of salt per year.
3. The Econo Series (Best Value for Modern Homes)
The Econo Series provides the essential benefits of soft water without the high price tag.
Reliability: It features a solid-state programmable computer that manages regeneration based on water usage, not just a timer. This "on-demand" system ensures you aren't wasting salt when you're away on vacation.
Most retail softeners use standard 5-8% resin, which can break down and turn "mushy" when exposed to the chlorine used in municipal water treatment. WaterSmart systems utilize 10% high-grade crosslink resin, which is significantly more resistant to chemical wear, ensuring your system maintains peak performance for up to 20 years.


3. How to Choose: The Canadian Buyer’s Checklist
Canadian homeowners face unique challenges that many generic buyer's guides overlook:
Extreme Hardness
In regions like Southern Ontario, water hardness can exceed 30 GPG. Standard retail softeners often struggle to keep up with these levels, leading to premature resin failure.
If you live in our service area (Kitchener, Waterloo, Guelph, Cambridge), you are dealing with some of the hardest water in the country. To give you an idea of what your system is up against, here are the average hardness levels for our local municipalities:
Note: 1 grain per gallon (GPG) is approximately 17.1 mg/L. Anything over 10.5 GPG is considered "Very Hard."
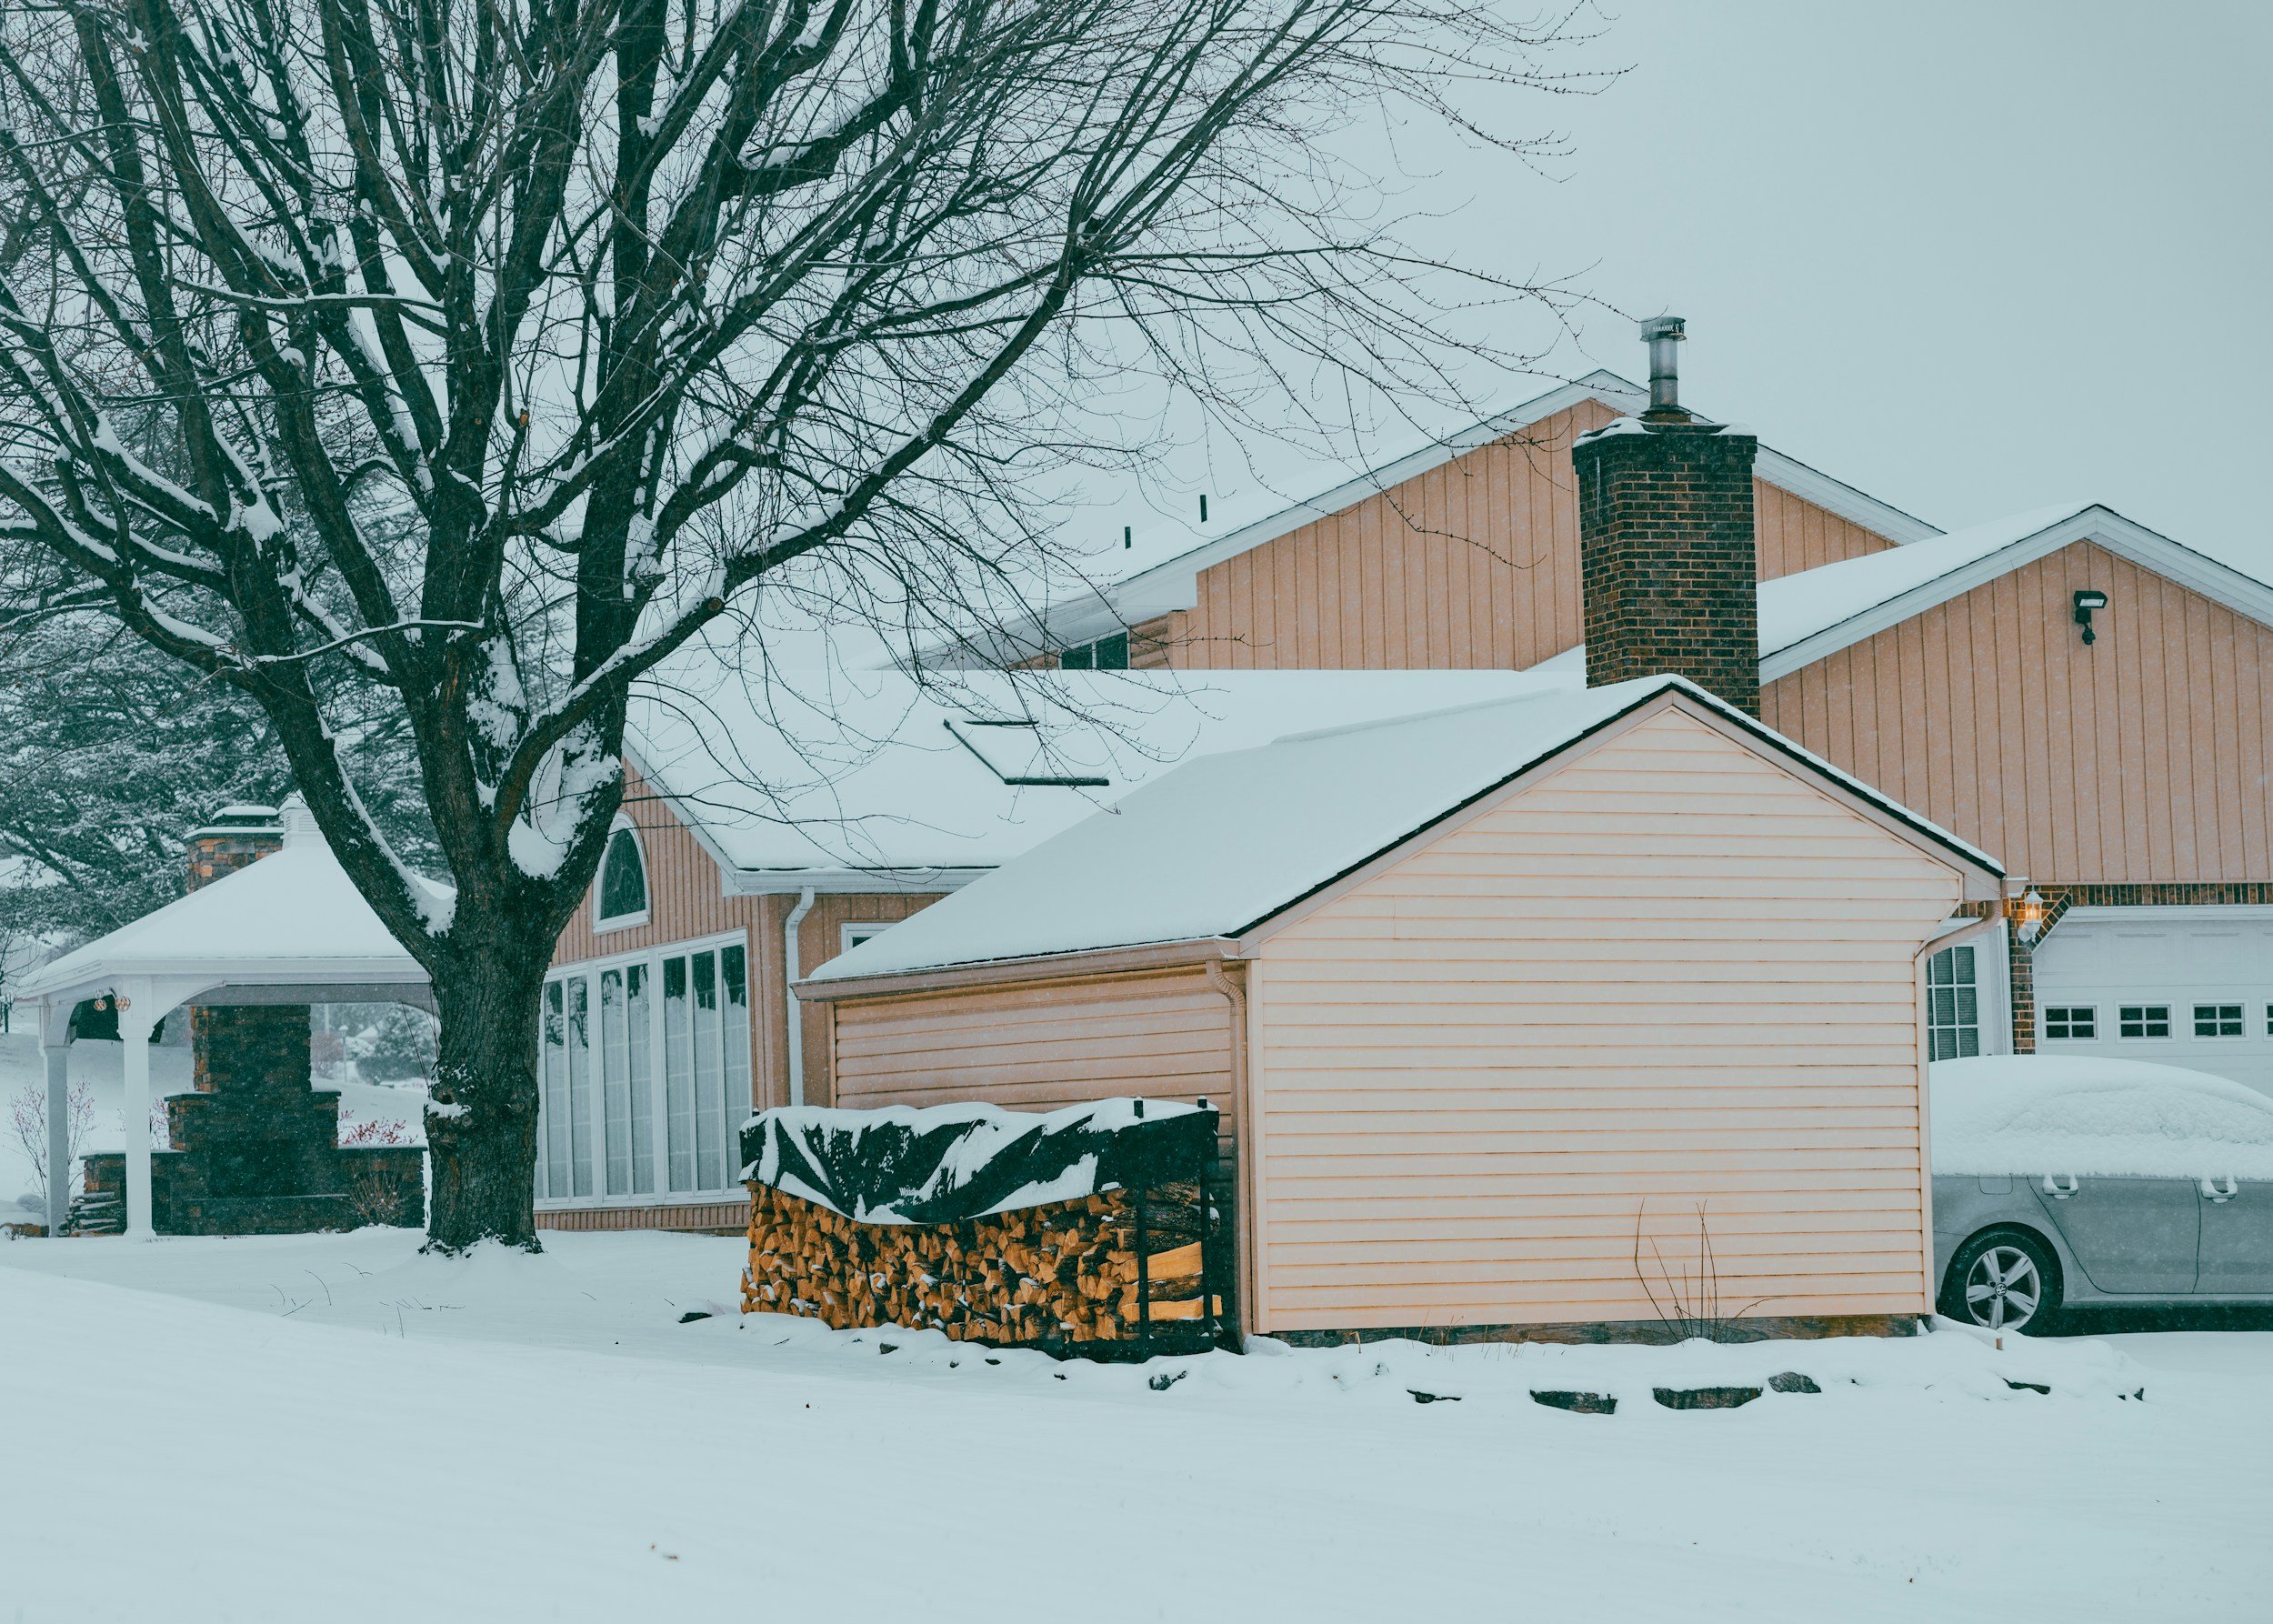
Cold-Climate Plumbing
In the winter, incoming water temperatures can drop significantly. Professional installation is vital to ensure brine tanks are properly positioned away from freezing exterior walls and that the system settings are adjusted for colder water cycles.
So, choosing a softener requires more than picking a brand. You need to understand the mechanical requirements of your specific home.
Calculate Your Grain Capacity: To find your ideal size, take the number of people in your home multiplied by 300 litres (average daily use). Multiply that by the Grains of Hardness in your water. An average household usually requires a 30,000 to 45,000 grain system.
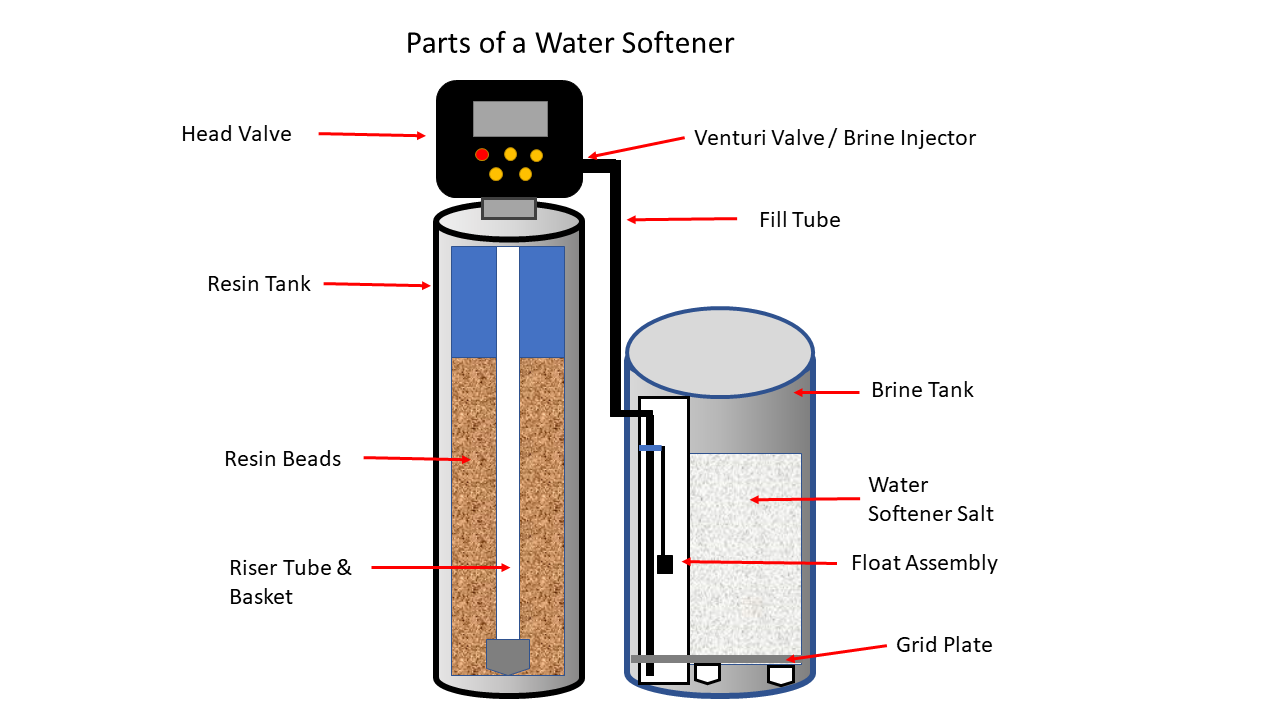
Salt-Based vs. Salt-Free: Salt-based systems (Ion Exchange) are the only systems that physically remove calcium and magnesium. Salt-free systems are "conditioners"—they prevent scale but do not provide the soft water "feel" or the soap-saving benefits.
Efficiency Ratings: Look for "Demand Initiated Regeneration" (DIR). This ensures the system only cleans itself when the resin is actually exhausted.
Use our Water Softener Calculator to find out the ideal water softener for your home in 30 seconds or less.

Whole home water softeners: experience The WaterSmart Advantage
BASIC INSTALLATION IS ALWAYS FREE WITH THE PURCHASE OF ANY WATERSMART WATER SOFTENER!
We aren't just a business; we’re your neighbours. As a family-owned company, every customer we serve in the Kitchener-Waterloo, Cambridge, and Guelph area is treated like a member of our own family.
Why Our Local Expertise Matters:
A Personal Guarantee: When you choose WaterSmart, you’re getting more than a product - you’re getting our personal promise of the best service possible.
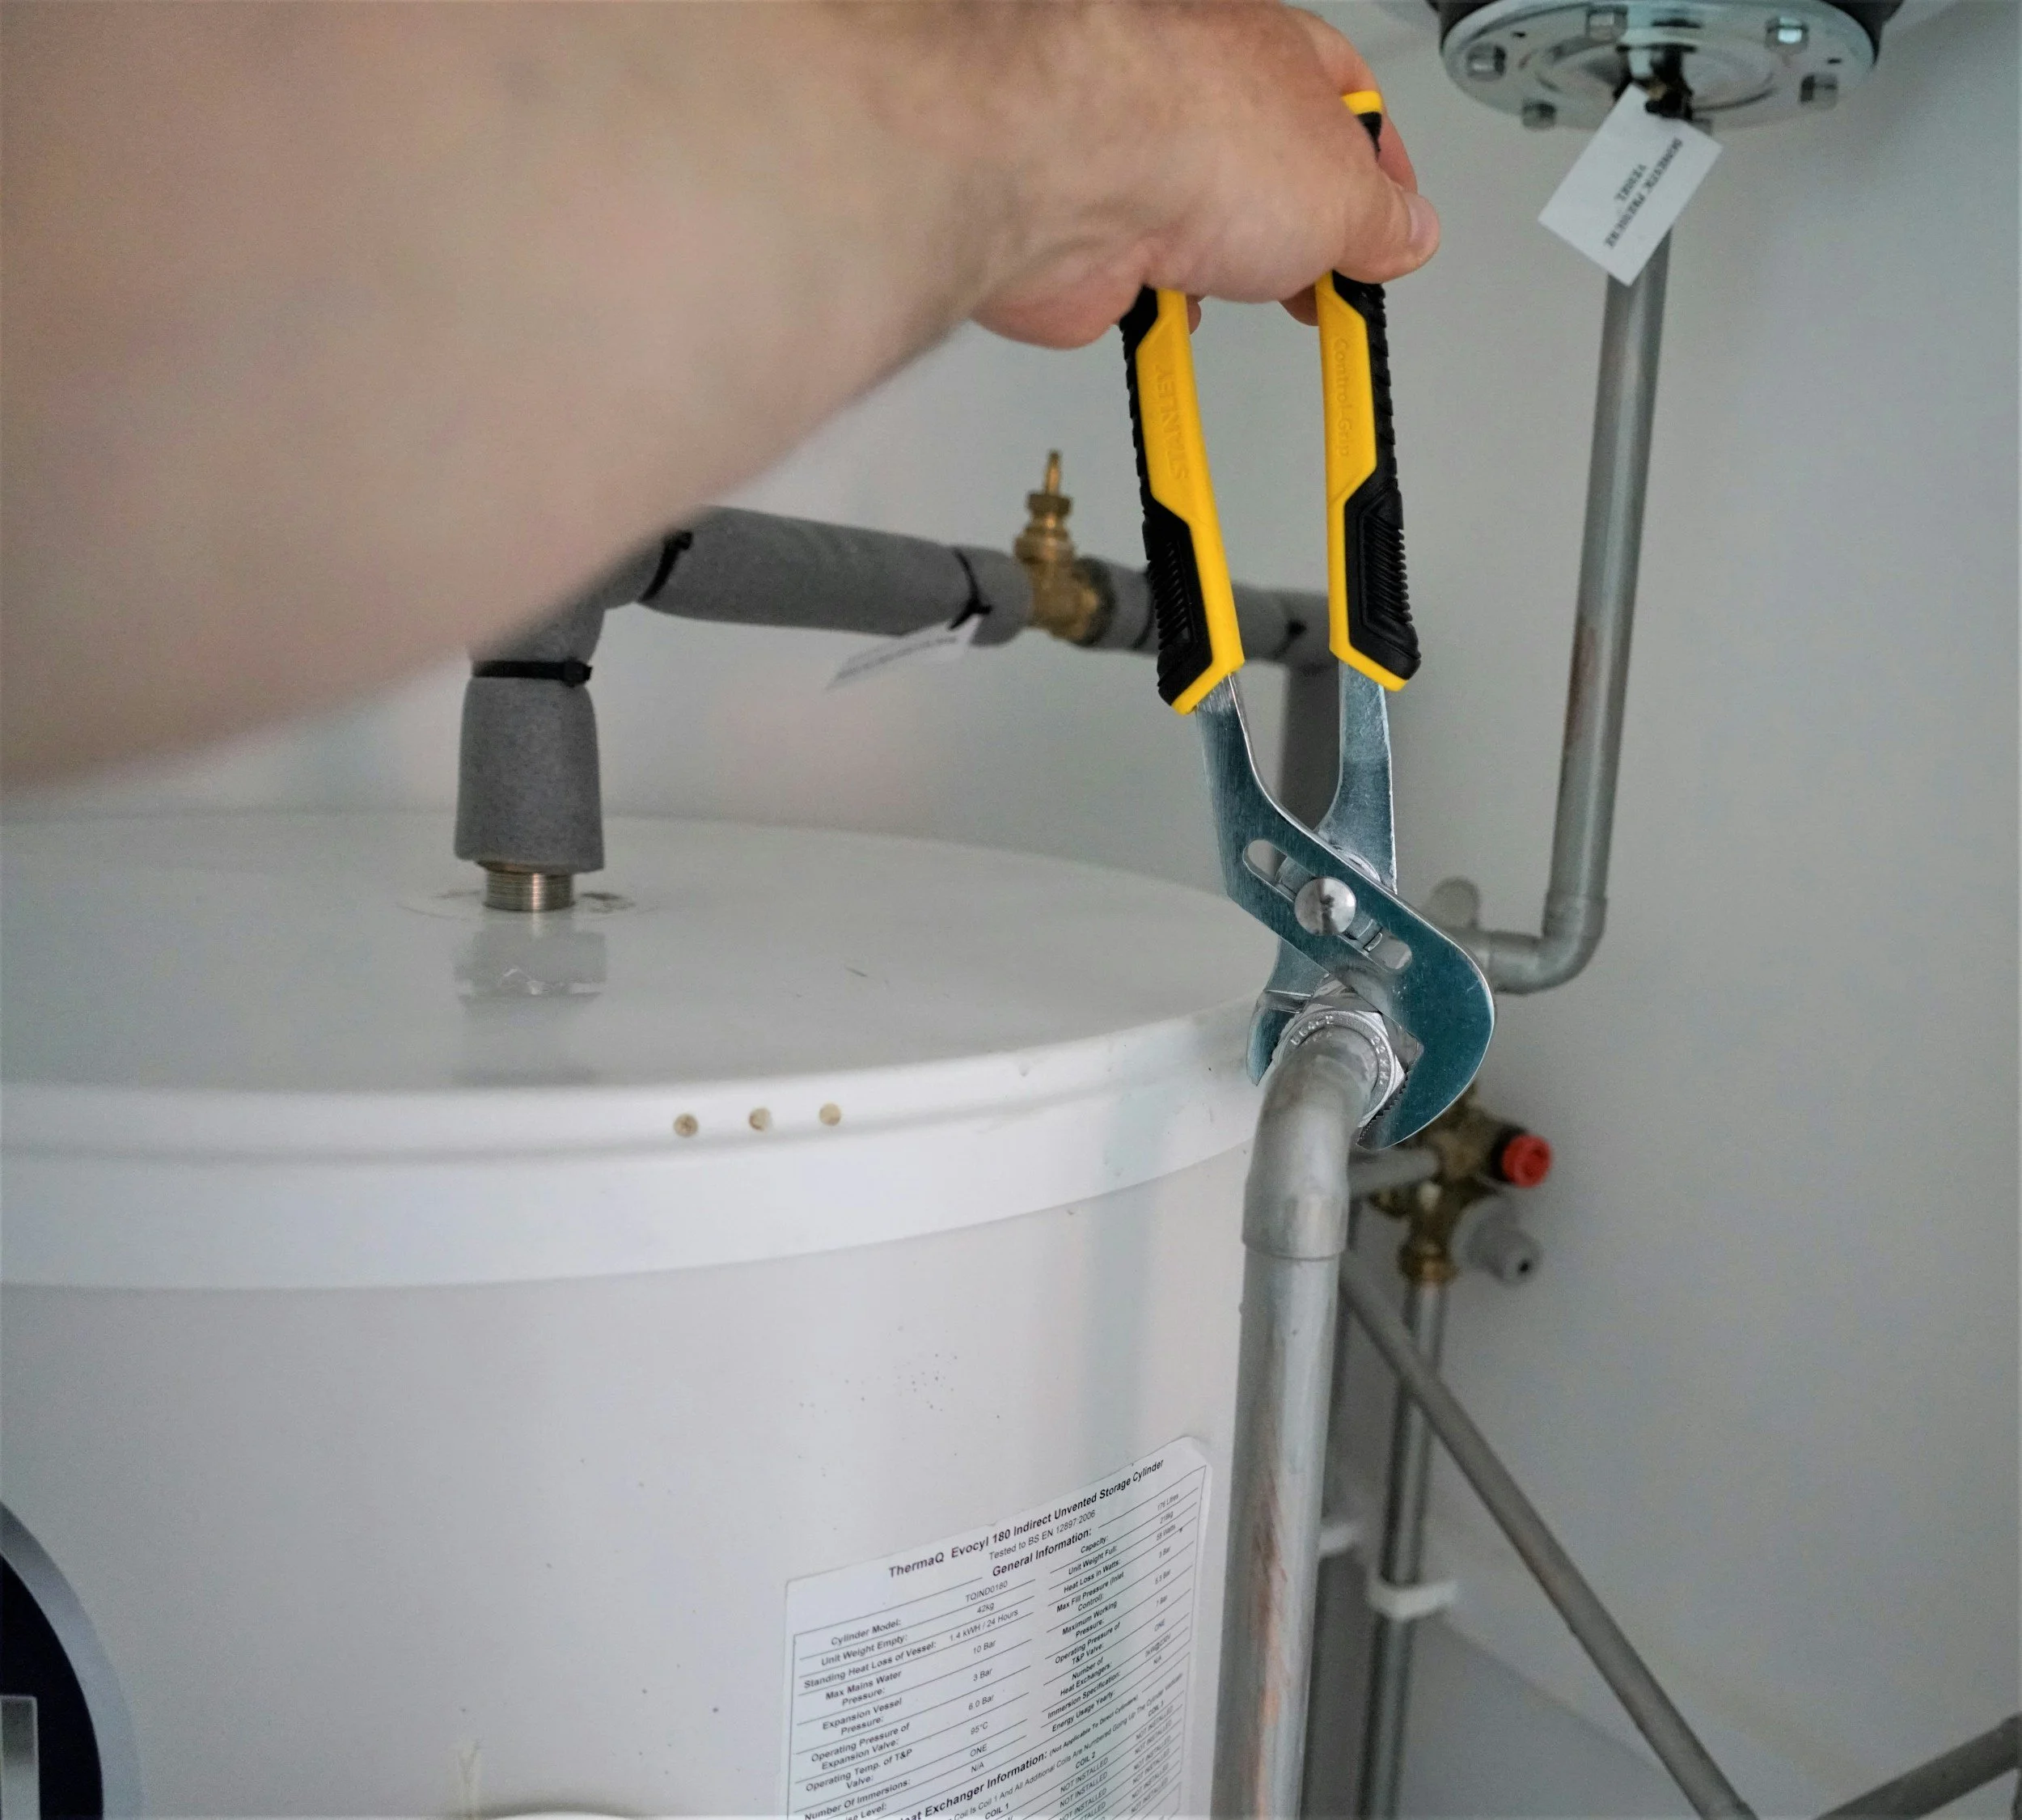
Fully Insured Professionals: Our factory-trained technicians are fully insured and licensed. We don’t just "install" a unit; we meticulously calibrate it to ensure it performs at the highest efficiency for our specific local water conditions.
We’re Here to Help: We never just drop a unit and leave. Our team takes the time to walk you through exactly how your new softener works, answering every question so you feel confident from the very first cycle.
We have partnered with Financeit to help your next big purchase be more affordable. We invite you to take a look at our financial options through Financeit; find out if you’re approved in seconds, no obligation and no commitment!
Contact us today to schedule a convenient time for your professional installation!
“Dropped in to the store and received a warm welcome and lots of good information. I ended up ordering a new Canadian made softener. It was installed within days. The installation was booked easily and the installer arrived on time. The job was done as quoted. It was very neat and tidy. I would suggest anyone needing a softener inspection or new unit installed, call WaterSaver. Friendly people and a job well done. I would recommend their service and quality products.”